I’ve recently acquired some radiolarians images, which I’ve virtually positioned in unlikely balances and posted on my Facebook page. I was asked how I did to create these images, and in this short tutorial, I will reveal the arcane 🙂
I don’t want to describe how I obtained the raw image, which is the result of a stacking process of a hundred individual images. You’ll find on other pages of this site the technique used.
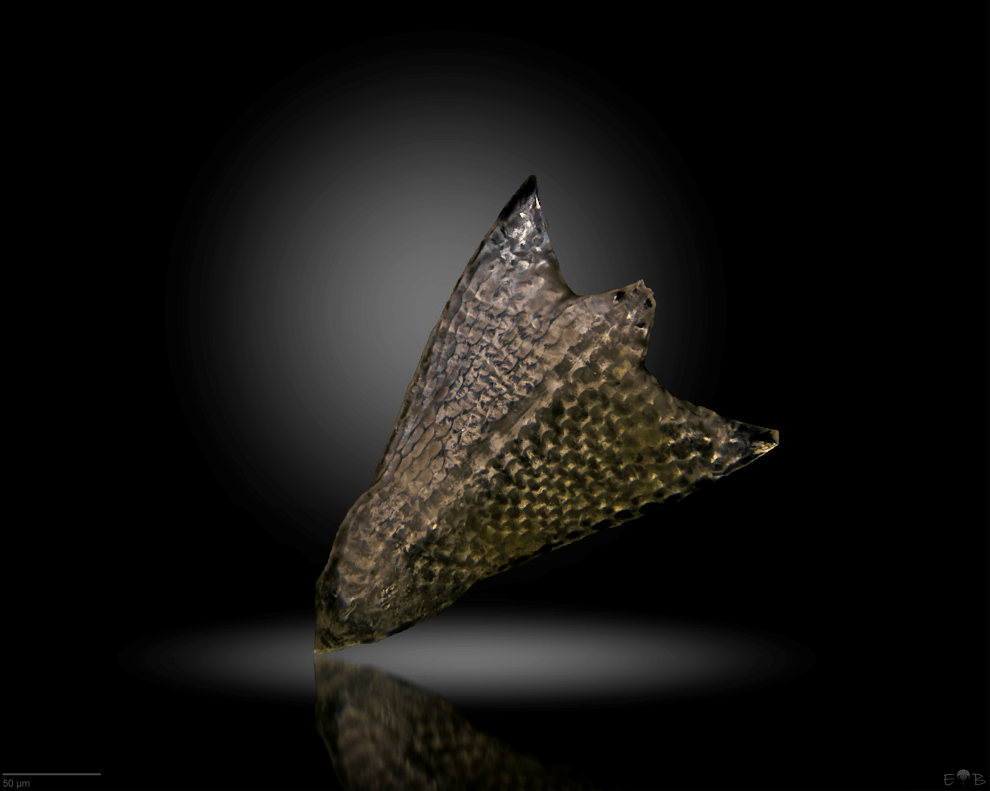
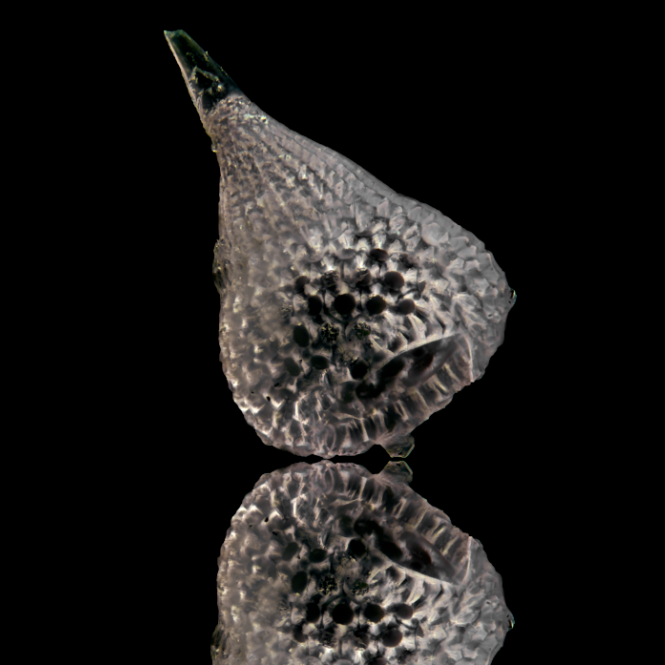
The subject is a radiolarian belonging to the genus Podocyrtis, from the Paleogene-Eocene Marls of Barbados Island. The result of the stacking, calculated with the software Helicon Focus, is processed in Camera Raw, for color balancing, brightness, texture and then imported into Adobe Photoshop to perform all the steps described below.
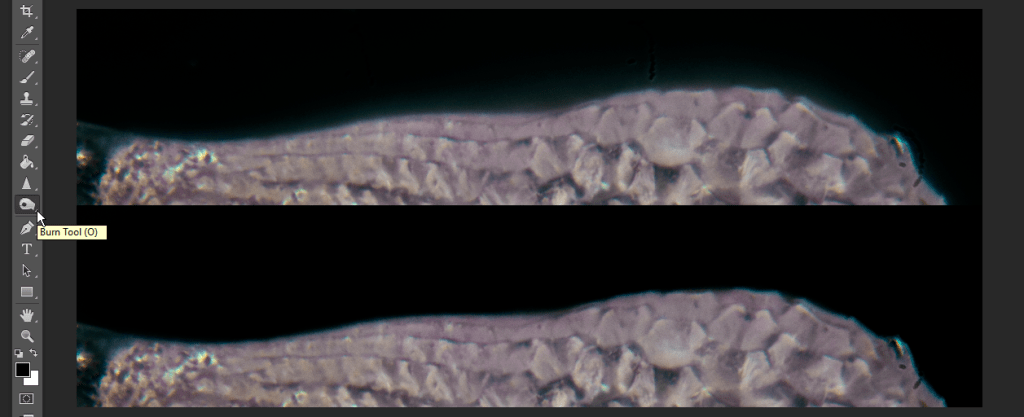
In order to increase the contrast between the edge of the siliceous theca of the radiolarian and the black background, I applied, where necessary, the Burn tool to remove the light halos, halos that are present when we are in presence of strong contrast of brightness, as in this case where we have a black background adjacent to a reflective crystalline surface.
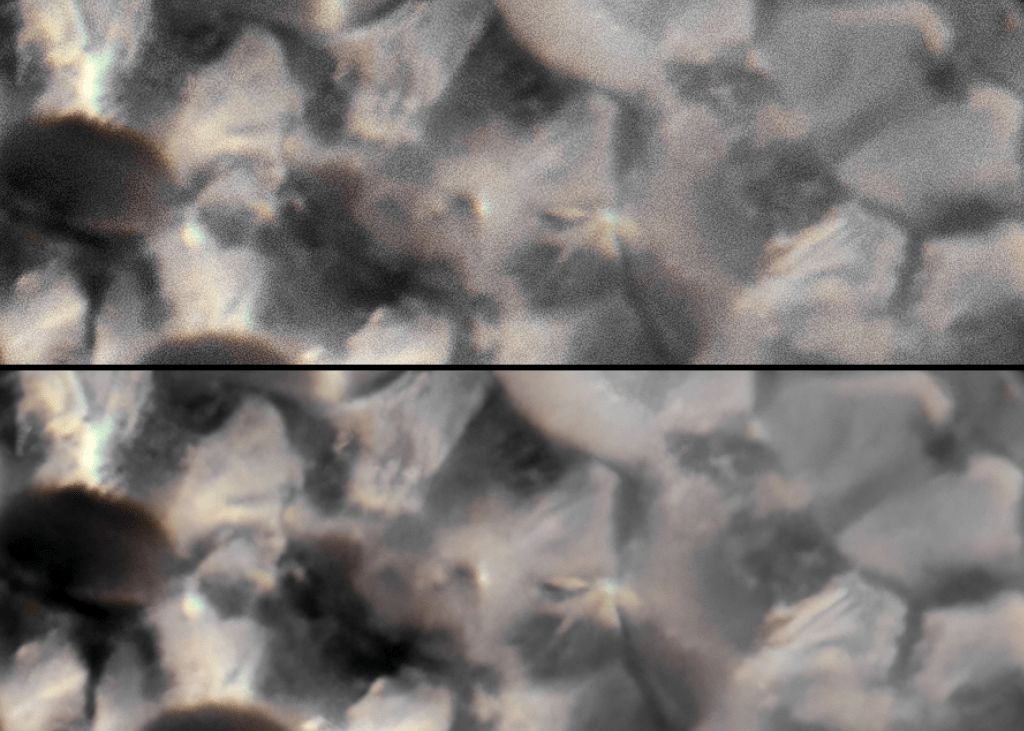
If the image is affected by some kind of noise or is grainy, we can apply a filter using the tools present in PS (Filter –> Noise –> Reduce noise) or using the software DeNoise from TopazLabs (https://www.topazlabs.com/denoise-ai)
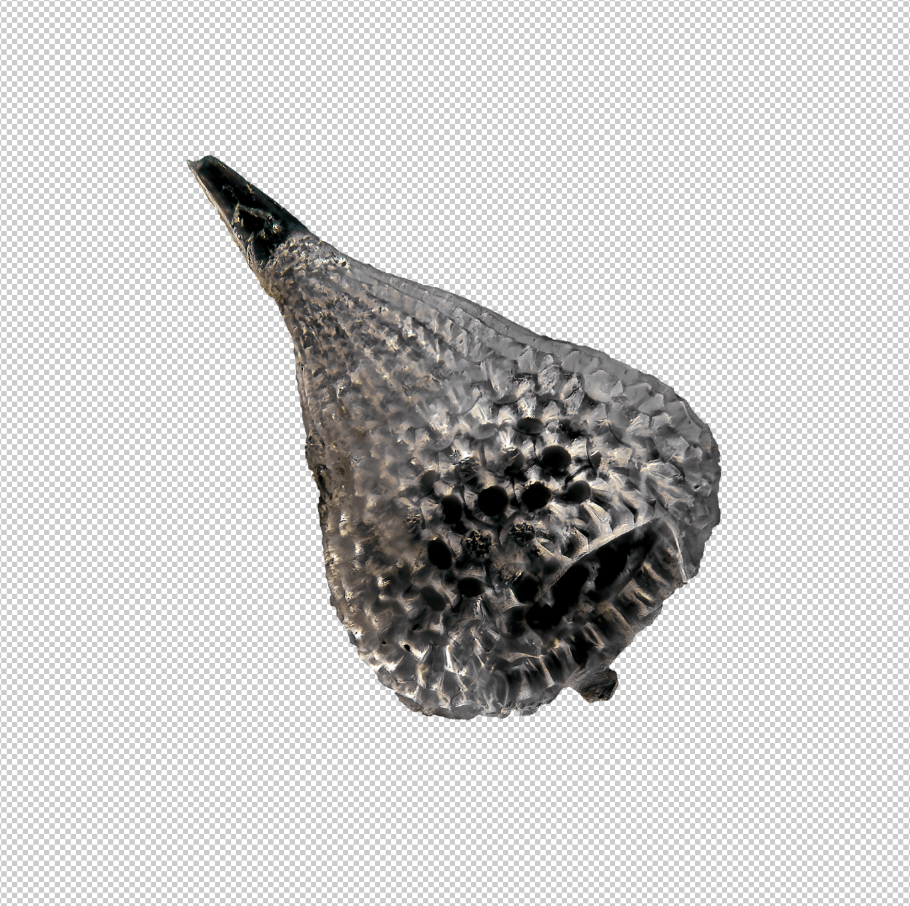
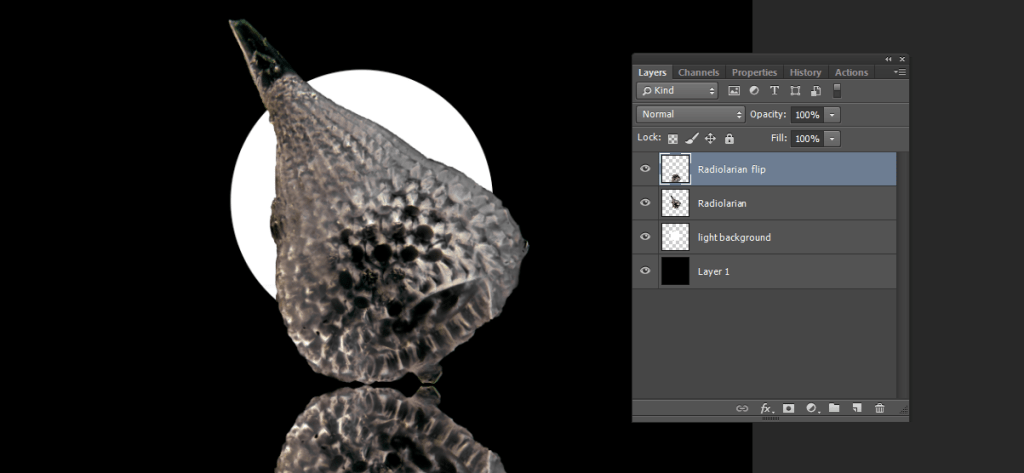
The next step is the removal of the black background, operation possible after having applied the Quick selection tool. This tool allows you to easily select the subject (or the background) with precision; there are tools and programs that allow faster selection and make more precise masking. I recommend, for example, to try the trial of Mask AI, always from Topazlabs: https://topazlabs.com/mask-ai/. As a result, the radiolarian overlaps a transparent background. This operation is very important and must be performed with precision.
Create now a new layer that will be moved in the lowest position of the layers list and fill it with black color.

If the separation between the subject and the background is too sharp, it is necessary to smooth a bit the border of the subject. Since we have isolated the subject from the background, it is easy to select the background (with the Magic Wand Tool), expand it by 2-3 pixels (menu Select –> Modify –> Expand…), define a Feather of 2 pixels (menu Select –> Modify –> Feather…) and press the Delete key on the keyboard. Be aware that the value of the Expand and Feather filters varies in the function of the image resolution. You will get a slightly blurred, but more aesthetically edge.
Duplicate the layer with the subject and make a vertical flip (Edit –> Transform –> flip Vertical). In order to create an effect as realistic as possible (like if it is placed over a mirror surface), the flipped image is moved just to the lower end of the main subject until it joins the extremity.
Create now a new layer and place it underneath the two subjects (the normal and the mirrored image). With the Elliptical Marquee Tool, draw a perfect circle holding down the shift key, with a diameter corresponding to about 1/2 the size of the radiolarian, and fill it with white color.
Deselect the circle and apply the Blur filter (Filter –> Blur –> Gaussian Blur…). The value of the filter radius must be quite high, function the value of the image resolution too. It is necessary to make some tests before proceeding further. Once you have found the optimal value, confirm, and eventually move/reduce the circle according to the aesthetic needs of the layout. Apply a transparency value of about 80%.
Duplicate this layer and press the V key to activate the Move tool and to display the anchor points (represented by small squares). Compress the blurred figure by clicking on the anchor point located in the middle of the upper segment to create a flattened ellipse. Using the Move tool, displace this figure downward, keeping it aligned with the main figure. Both are placed in the background and are covered by the main subject.
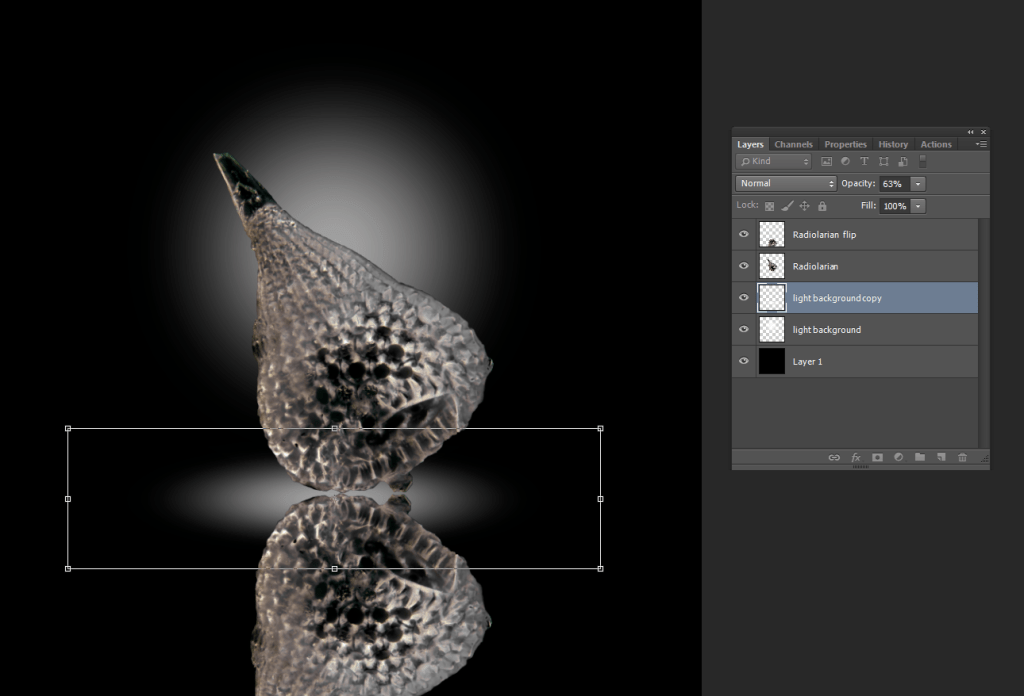
Select the layer with the reflected image and make it slightly transparent (75% is sufficient). Create a mask to the layer (Add Layer Mask) and with the Gradient Tool (with the color option from the foreground (black) to transparent) apply the gradient from the bottom to the upper side of the image. Try several times to get the best “transparent gradient” effect.
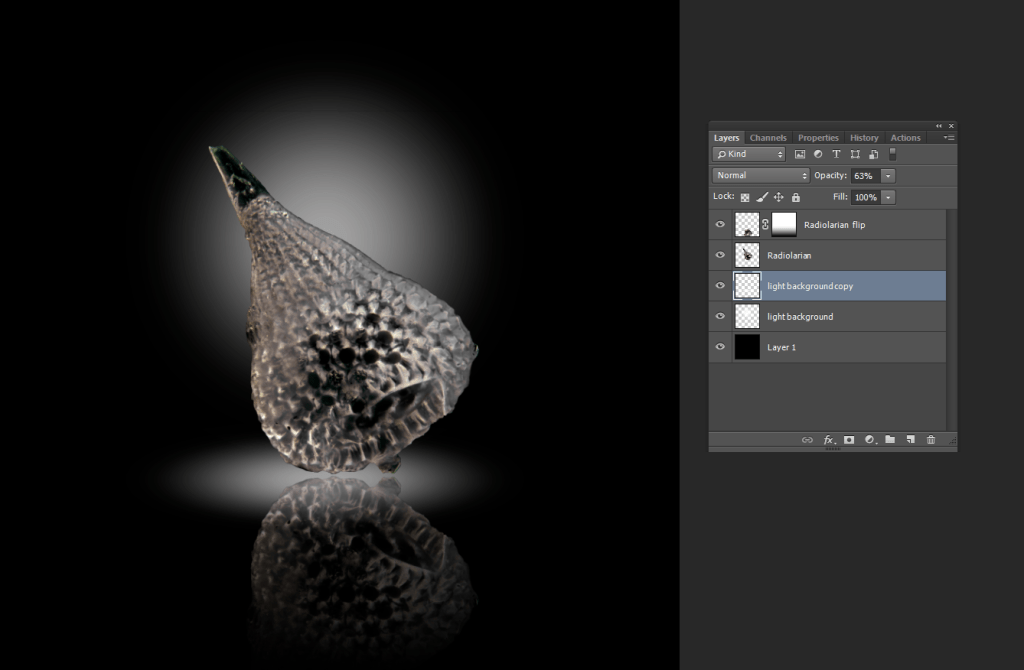
The last operation is the cropping and positioning image in the canvas, ready now to be exported and printed on the most suitable media.

Happy stacking!
