Creating a bar scale
It is important, whenever you want to publish a subject’s image, to add a reference that indicates the correct size. If for macroscopic subjects, a coin, a ruler, or a special bar scale is sufficient, for subjects with sub-millimeter dimensions, the operation may seem more complicated.
It could, but it really is not.
To add a reference bar, you must, first, be able to measure the value (in pixels) of the length of a metric reference within the lens’s field of view. This is done by capturing a photo of a reference millimeter or micrometric scale such as, for example, the one visible below.

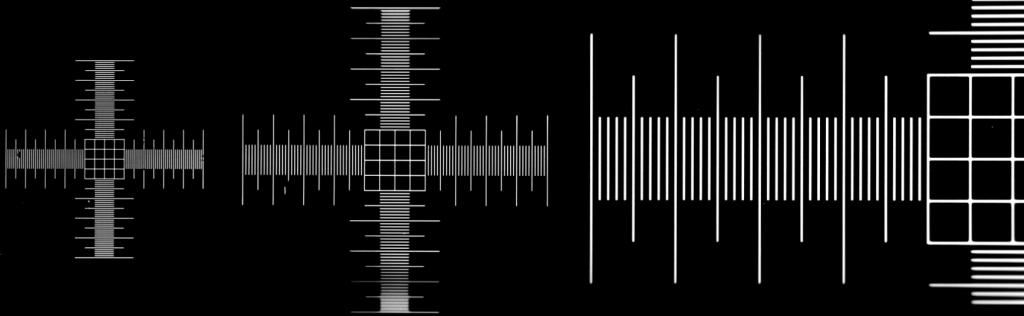
This is a simple microscope slide, in which different sub-millimeter scales are engraved, ranging from tenth to hundredth of a millimeter; rulers can also be used for low magnifications.
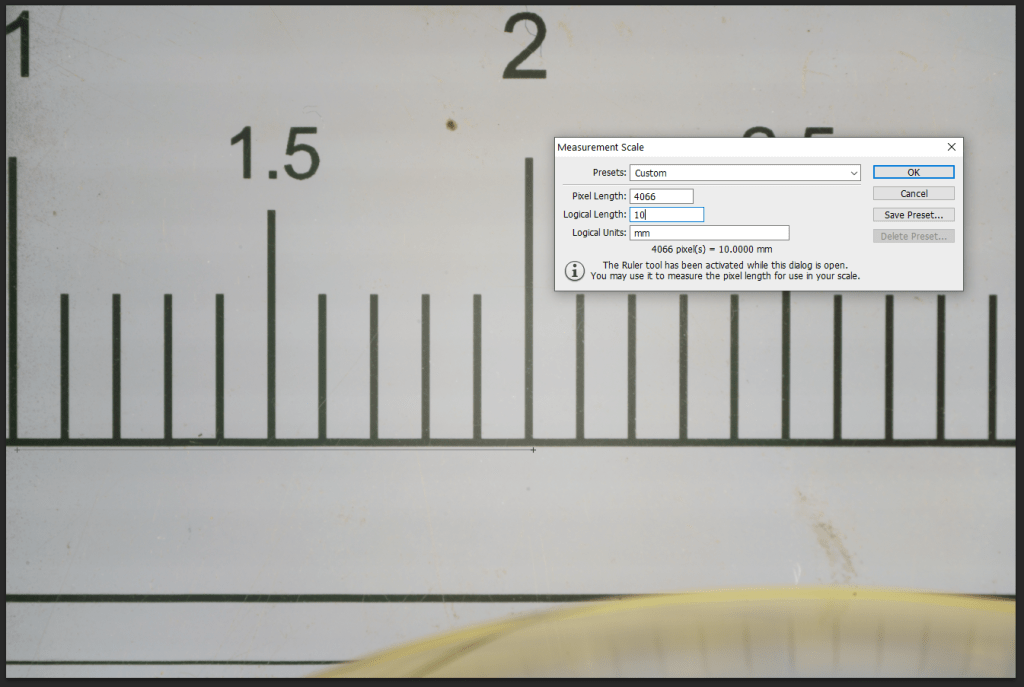
You must simply place the slide in front of the lens, focus and photograph it trying to possibly have the micrometer scale parallel to the base of the frame. The image thus captured is imported into a graphics program (in my case I use Adobe Photoshop).
Calculates the number of pixels that are included within two (or more) notches. In the example below, the number of pixels between notches with values of 1 and 2 (i.e., 1 centimeter in this case) is 4066. So, we have 4066 pixels included in a space corresponding to 10mm, each pixel has a dimension of about 0.0025mm (or 2.5μm).
Knowing the number of elements that characterize the camera sensor, it will be easy to calculate the size of the field covered by our lens.
The SONY A7RII camera model I use has a 35.9x24mm sensor, consisting of 7952 x 5304 elements; for other camera models, the value is easily found in the instruction booklet that accompanies the camera, or by performing a simple search on the web. Multiplying the size in mm of the single pixel by the number of pixels present on the sensor (or in the image, side-to-side), I can obtain the size of the field, that is, in this case 0.0025 mm x 7952 = 19.88mm, just less of 2cm, as already visible by looking at the previous image.
The calculated value varies depending on the objective, and the optical configuration used. Knowing a priori what set-up is used, we have access to the size of the field covered by our objective and we can, for example, create “ad-hoc” scale bars that can be reused whenever we acquire a subject with a predefined set-up. In Adobe Photoshop you can even create a library that you can easily access, and set the correct working scale depending on the system used:
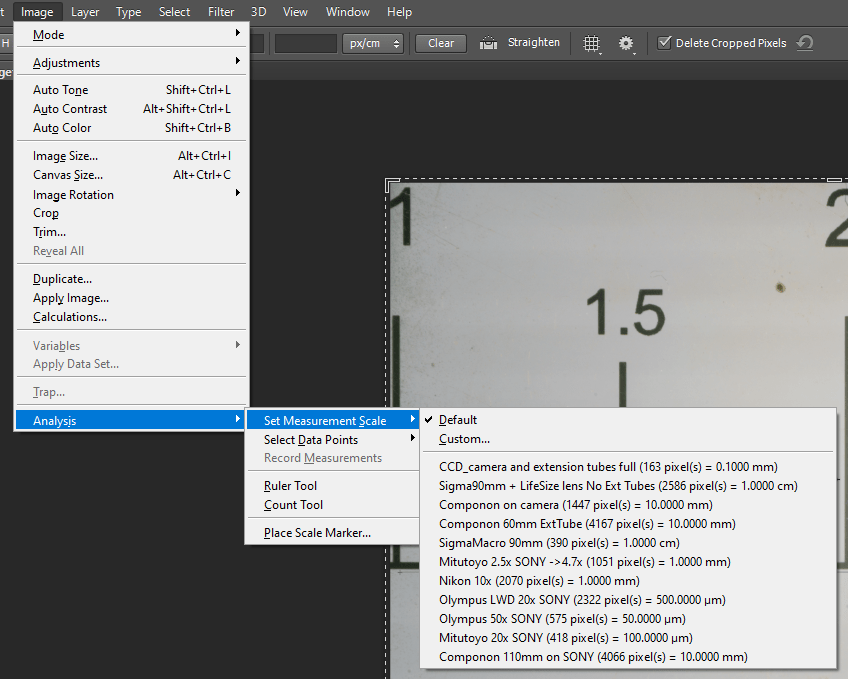
Once the subject is stacked by your beloved software and processed in PS, it is only required to select the setup from the pop-up window and to activate the “Place Scale Marker…” menu to place the reference scale bar in the final image.
Happy Stacking!
Calculate the magnification
Instead if you are interested in calculating the magnification factor, you measure the width of the field covered by the sensor using a millimeter or micrometer scale (see previous paragraph), the value obtained is used as a dividend of the real width of the sensor of the camera. The SONY that I use (AR 7 II) has a width of 35.9mm, for other models the correct value can be found in the instruction manual of the camera or making a simple search on the web.

In the example above, the width of the image is estimated at 13.9mm, then I’m going to use this value to divide it by the width of the sensor, obtaining a value of 2.58x, (35.9 / 13.9) a value closer to the value of the lens Mitutoyo QV 2.5x.
Using this lens, with the adapted tube lens length and the Raynox 150, I obtain images with a magnification ratio corresponding to about 2.5x. Generally (personal opinion) I prefer to use a bar as a reference scale, than the magnification ratio, it tells me much more than an “X” value.
Also, if for layout reasons you have to reduce the size (or enlarge) of the photograph, obviously the magnification factor is modified accordingly. The use of the scale bar instead, lengthening or narrowing in case of enlargement or reduction of the image size, always faithfully reflects the real scale (and dimension of the subject.
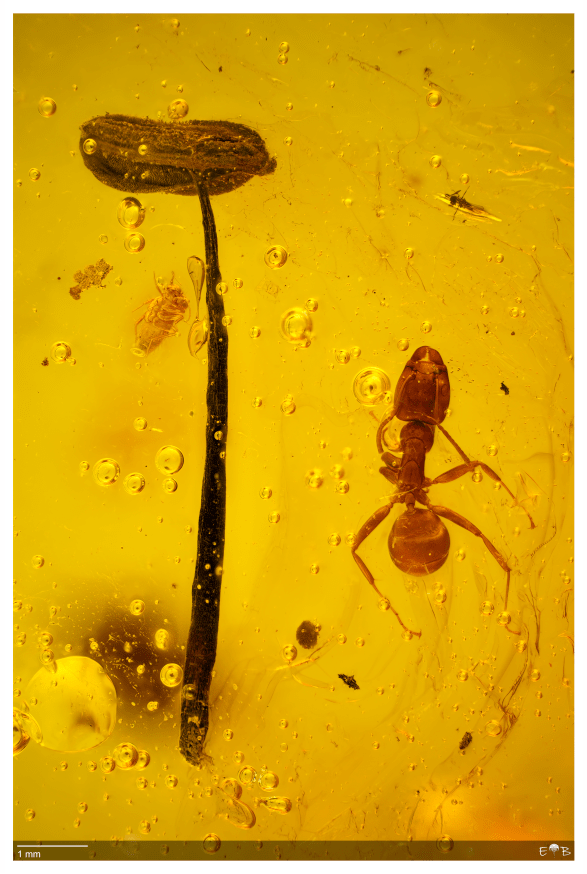
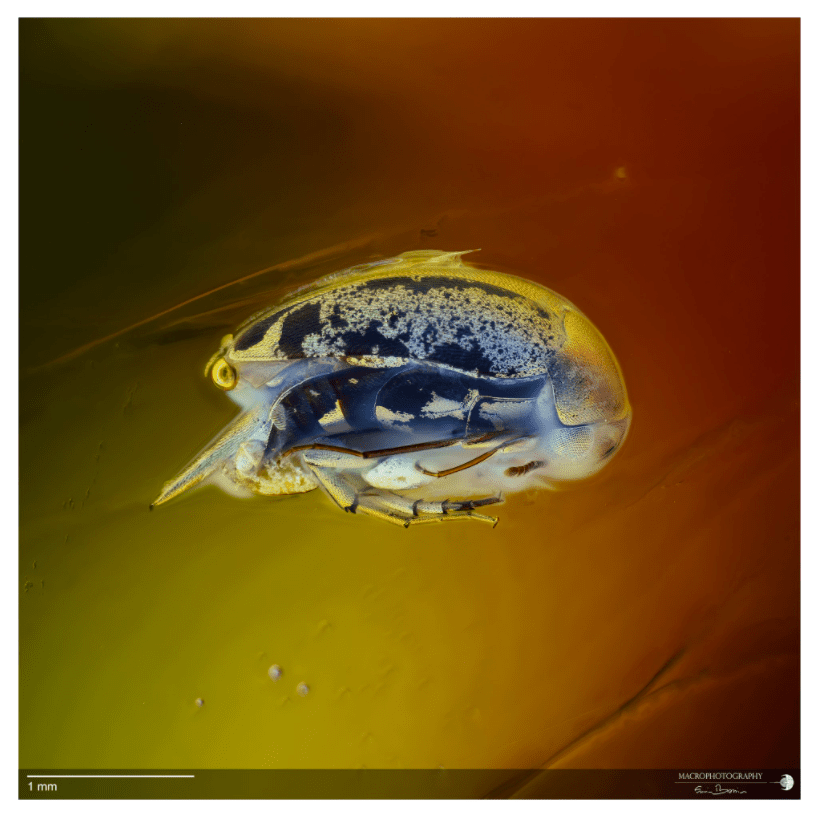
Formicidae and stamen from the Dominican Republic (Miocene) acquired with a Mitutoyo QV 2.5x (from a private collection).
